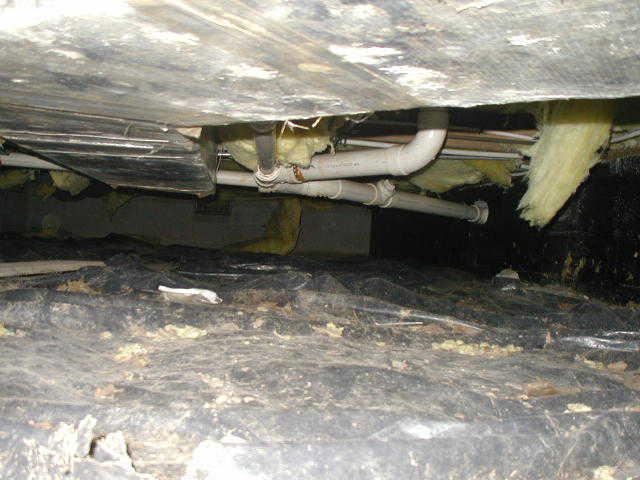
Crawlspace Before Installation
This photo shows off what the crawlspace looked like before any work was done. One of the most obvious signs of high moisture levels in a crawlspace is falling insulation. In this photo, there is quite a bit of insulation that has fallen, most likely from absorbing a significant amount of water.

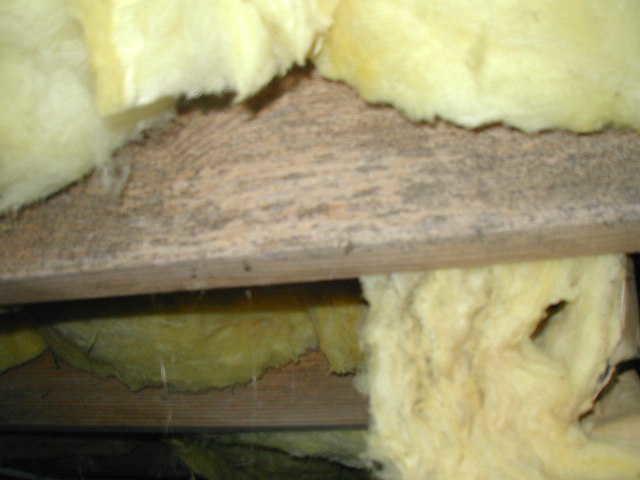
Mold on Floor Joist
This photo shows some mold that had began to grow under this home. This was one of the biggest reasons that the homeowner initially called us, because they knew that having mold in your home can be dangerous and cause health problems. Fortunately, we were able to address all of their concerns with our system!

Installed CleanSpace Liner
This photo shows some of the CleanSpace Liner that was installed in the crawlspace. This shows where the crew sealed the CleanSpace around these columns. Usually the CleanSpace would go further up the columns, but because they were on a concrete block, this wasn't necessary. However, the seams were taped in order to keep moisture out.

Close Up of the CleanSpace and Taped Seams
This photo helps to see the how the crew attaches the sheets of CleanSpace to each other. These seams can be seen on the left hand side of the photo and the bottom of the wall in the background. As you can see, the crew goes over the seams a couple times in order to ensure that everything is completely sealed up!

Another View of the Encapsulated Crawlspace
Here is one last view of the crawlspace with the CleanSpace installed. As you can see, the crew does their best in order to follow the curves and shapes of the crawlspace. This helps to prevent the CleanSpace from being pulled away from the wall or anywhere it may be attached to. This always helps the area to have an overall better looking and cleaner crawlspace.

