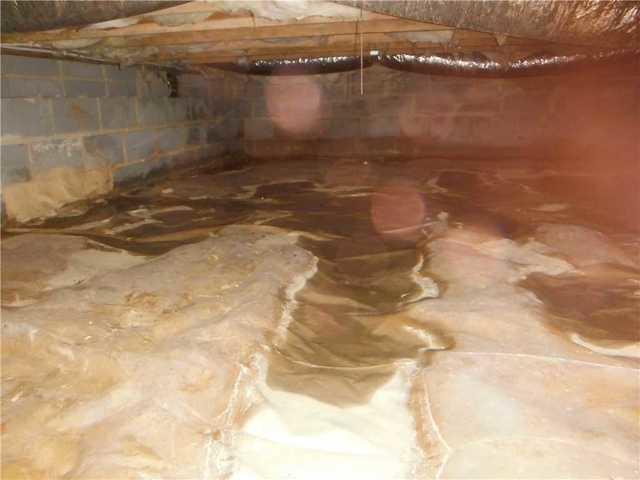
Puddles Under Home
This picture shows just how much water had been in the crawlspace. This was one of the main problem areas where a lot of water was pooling up. While there isn't much water left in these areas, it is extremely obvious where the water had been.

Soaked Ground Under Old Liner
This is almost as bad as the water being on top of the liner. In this picture, the water is already under/soaked through the liner and has saturated the ground. The water most likely went through where the two sheets of plastic overlapped or from the outside edges.
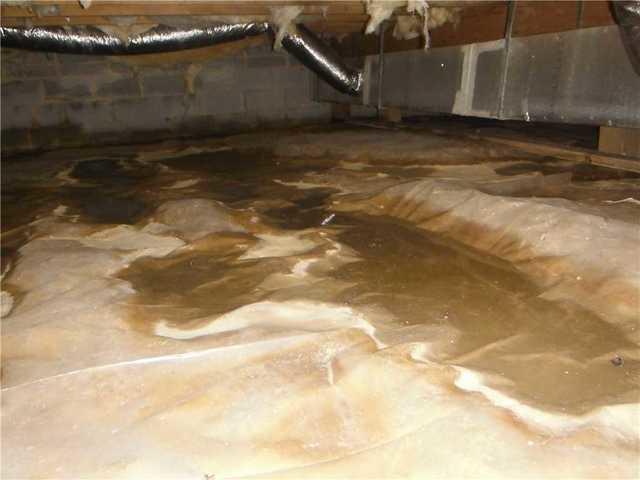
More Pools of Water
Guess what? Even more pools of water in the crawlspace. This picture, unlike the first one, shows the actual pools of water. Any moisture under the home is a bad thing, but this much water is way over the top. Thankfully this homeowner caught the problem before it got too serious.
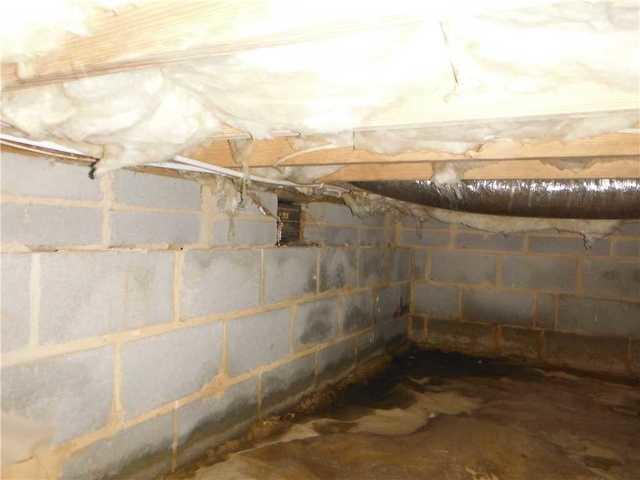
Wider View of Wet Crawlspace
This is a great wider angle of the crawlspace. This shows one corner in particular, this corner more than likely one of the corners that was more downhill, as a lot of water drained to this area. This was close to where the sump pump was installed.
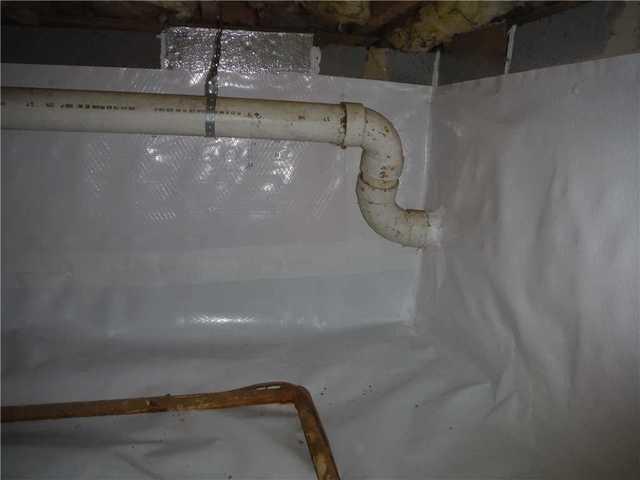
CleanSpace Sealed Around Pipes
Our crews do an excellent job in laying and sealing the CleanSpace liner to the floor, walls, and especially around obstacles such as this pipe. The CleanSpace is perfectly sealed around this pipe and helps to keep the moisture out.

Installed CleanSpace Liner
This is a wider view of the crawlspace with the CleanSpace installed. This is another great example of how tight all of our crews lay the CleanSpace liner. This wall gives a canvas to show off their skills.

Another View of the Installed CleanSpace
This is an even wider view of the installed CleanSpace liner! It shows much more of the crawlspace. This homeowner decided to have the CleanSpace installed all the way up the wall in order to keep more moisture from coming into the crawlspace.

More CleanSpace
One last picture of the installed CleanSpace! I've said it many times already, and I'll say it many more times, CleanSpace really transforms a crawlspace and there will never be enough pictures to show just how well it performs its job.

CleanSpace Liner Around Crawlspace Entrance
This picture shows how the CleanSpace is laid closer to the door. There are little rivets that are holding the CleanSpace liner onto the wooden door frame. The liner goes as far as it can to the entrance to the crawlspace, this is to try and keep as much moisture from getting into the crawlspace as possible.
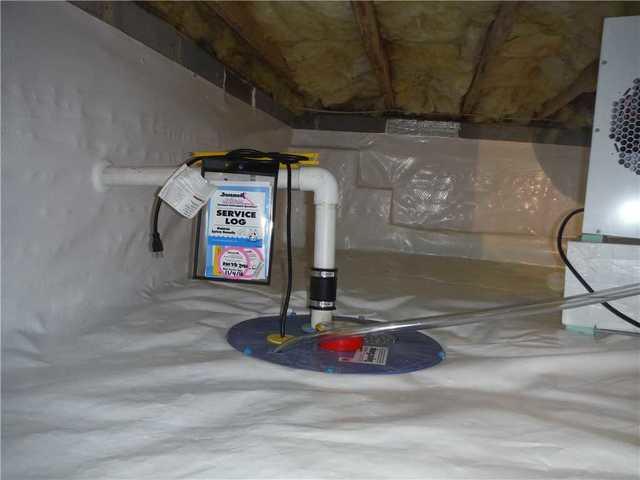
Installed Sump Pump
The sump pump that was installed in this home was the SuperSump. One of a few different sump pumps that we install. This sump pump collects any water under the CleanSpace liner (and some from the dehumidifier) and pumps the water outside the home.

Installed SantaFe Edge II Dehumidifier
Last, but not least! Here is the dehumidifier that was installed in the crawlspace. This dehumidifier has a very important job, as it is there to keep the humidity level at a reasonable place. This level is around 55% humidity, because any higher than that means that mold is more likely to grow.
