Damp Room in Basement
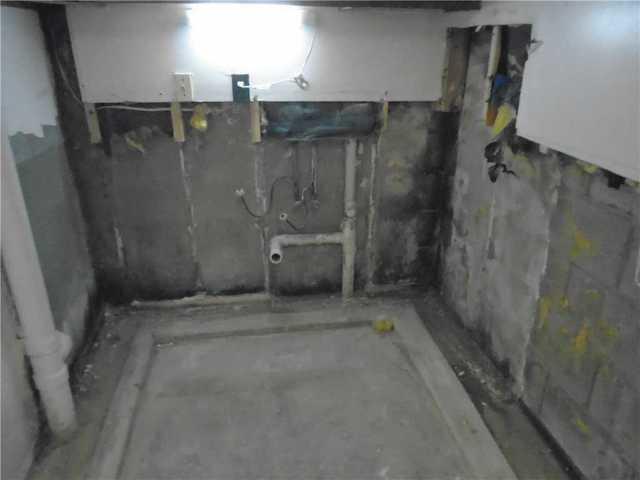
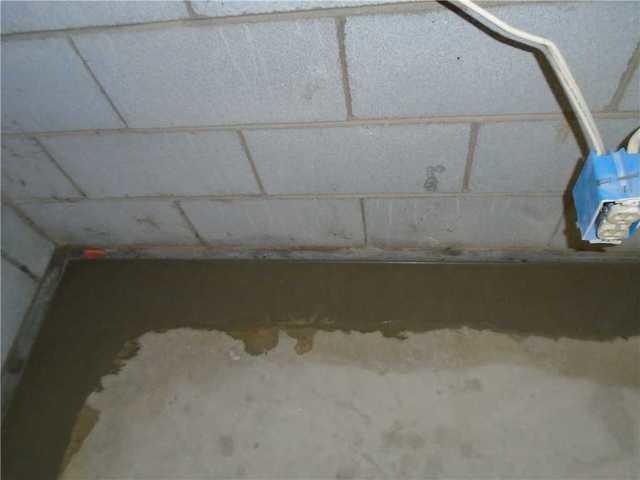
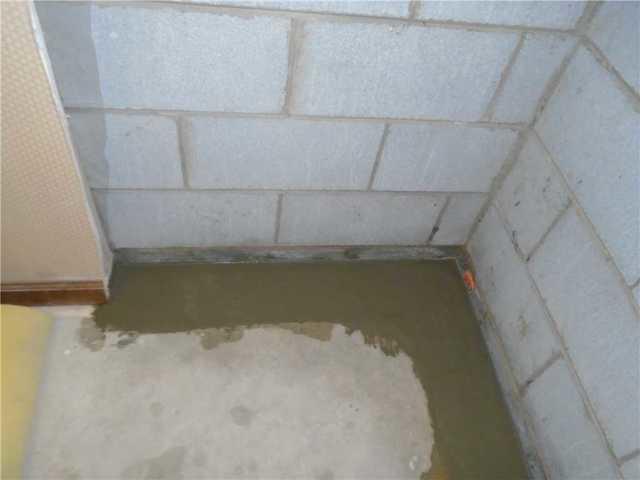
This shows one of the rooms in the basement of this home that had been affected by the water. This room in particular had quite a bit of water intrusion in it. You can see where the water has been, around the corners and along the bottom of the wall, all the way around the room.

Removing Concrete for WaterGuard
This photo was taken while the crew was preparing the basement for the WaterGuard to be installed. We had to take out the raised concrete in this photo, as well as the normal amount of concrete that we have to take out away from the wall. You can see how the crew has already started tearing into it!

Installed WaterGuard in Basement
Here is a photo showing the installed WaterGuard. As you can see, the WaterGuard was installed all of the way down and around this wall. In this particular home, the WaterGuard was put in around three of the four walls of the basement.

Another Photo of the Installed WaterGuard
Here is another photo that shows the WaterGuard going around the perimeter of the basement. This is a little closer view of the installed WaterGuard, but even from this close up, you can hardly tell that its there, besides the fact that the cement is still drying.

WaterGuard in Another Room
Here is some more WaterGuard that was installed in another room of the basement. It is very difficult to see, but you can see a little bit of the WaterGuard in the middle of the picture along the wall. This is the great thing about WaterGuard, that it is extremely low-profile and can be covered up relatively easily, we actually have a product called ThermalDry Flooring, that is designed specifically for basements.

End of the WaterGuard
This is the end of the line for WaterGuard in this basement. The WaterGuard was installed in a "U-shape", going completely around three of the four walls. The SuperSump pump system was installed around the middle of the "U".

One Last View of the WaterGuard
Here is one last view of the WaterGuard that was installed in the basement of this home. This was another wall that had the WaterGuard spanning the entirety of it. This helps to catch the water coming from the perimeter of the basement, and keeps the water from just sitting in the basement floor.

Installed SuperSump Pump System
Here is the sump pump that was installed and tasked with making sure that all of the water is pumped out of this home. SuperSumps have several different components that help to ensure a dry basement including; a 1/3 HP Zoeller pump that can pump over 2,500 gallons/hour, a WaterWatch Alarm, and the airtight lid that does not allow the water in the pump to evaporate back into the area.

Installed LawnScape Outlet
This is where the discharge for the SuperSump came out to, the LawnScape Outlet. It comes out just a few feet away from the home, but far enough away that the water won't go back towards the home. It is also nestled nicely along this short rock wall, so that it is not really in the way of a lawnmower or anything else!
